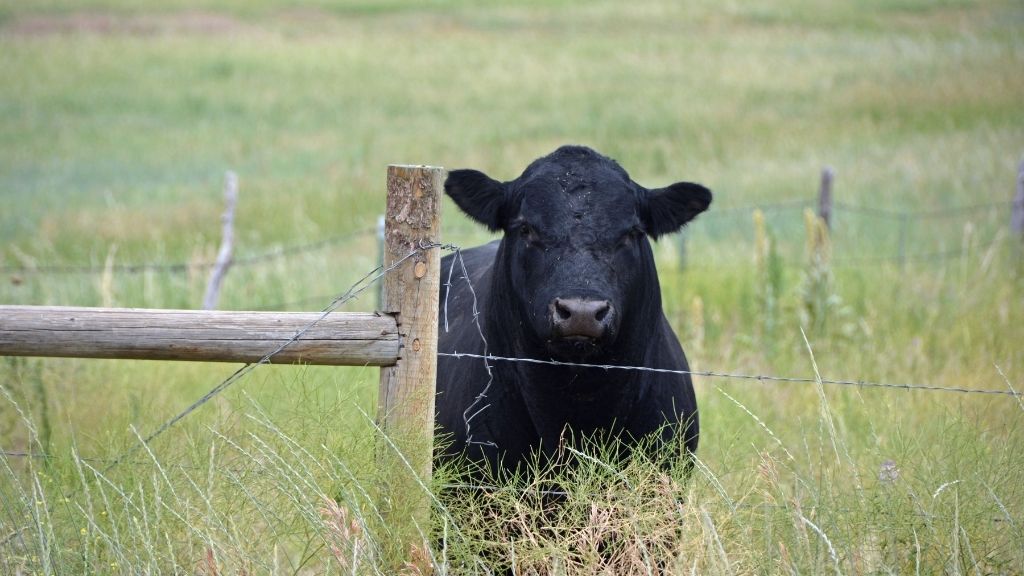
When it comes to livestock, specifically cattle, it’s beneficial to build an electric fence to prevent escape attempts while also protecting those cattle from dangers outside the barrier; cars, coyotes, etc. Having an electric fence comes with numerous advantages.
With electric wire fences, you not only have a physical barrier but also a psychological barrier. A psychological barrier is very powerful in training your cattle not to break down your fence and escape or be harmed by outside threats.
With the proper planning and construction, you can build an electric fence for your cattle and other livestock with ease and efficiency. It will take some time and energy, but the outcome of your work will be well worth it.
LET’S BEGIN
Before committing to this style of barrier for your cattle, it’s important to know the various types of electric fencing. This will help you determine what will work best for your livestock.
Cattle are animals with both strength and size, so sturdiness and durability are crucial components to keep in mind as you prepare to build your fence.
Dairy cows and beef cows are going to differ in size, but it’s also better to be safe than sorry. Bulls will definitely need a strong barrier, especially when in close proximity to cows.

When it comes to fencing, there are two primary types of electric fence. They are categorized by their sturdiness and durability.
1) Temporary fences requires care more often, is less sturdy and not meant to be durable or used for a long term solution.

2) Permanent fences is built with durability suited for long-term use and does requires upkeep but less of a watchful eye than that of temporary fencing

Permanent electric fence is more effective but also less mobile.
On my farm, GannFarmRaised, I have fencing rule: if the temporary fence is still in place after two years, make it permanent. Never be in a hurry to create something indefinite.
The outline provided is going to demonstrate what is needed to construct a permanent fence rather than temporary fence.
MATERIALS THAT YOU’LL NEED
When gathering materials, first make sure there are no specific legal requirements in your area. Ensure building an electric fence is acceptable. Mainly check your boundary for risks like small children in neighboring homes. I can’t think of a legal requirement that would prevent you from erecting an electric fence on your property.
Next, determine the size of the area you will be enclosing to figure out how much of each material is needed. Once you have passed these steps, you’re ready to accumulate the needed materials.
When purchasing wire and other necessary materials, keep in mind that galvanized material is built for outdoors and always recommended to prevent rust. High tensile smooth wire is necessary for this fencing, and specifically 12 ½ gauge galvanized wire.
It comes in several PSI strengths. I recommend 200,000 psi if you can’t get 180k. I’ve used 200k for most of my farming life, but it can be fragile if put in a bind. 180k, which I don’t have access to, might work better.
High tensile smooth wire should be purchased locally. It’s a heavy item to ship. Tractor Supply is where I’ve purchased all of my perimeter fence wire, and they only have 200k. If that’s your only option, buy it. I did, and it works just fine.
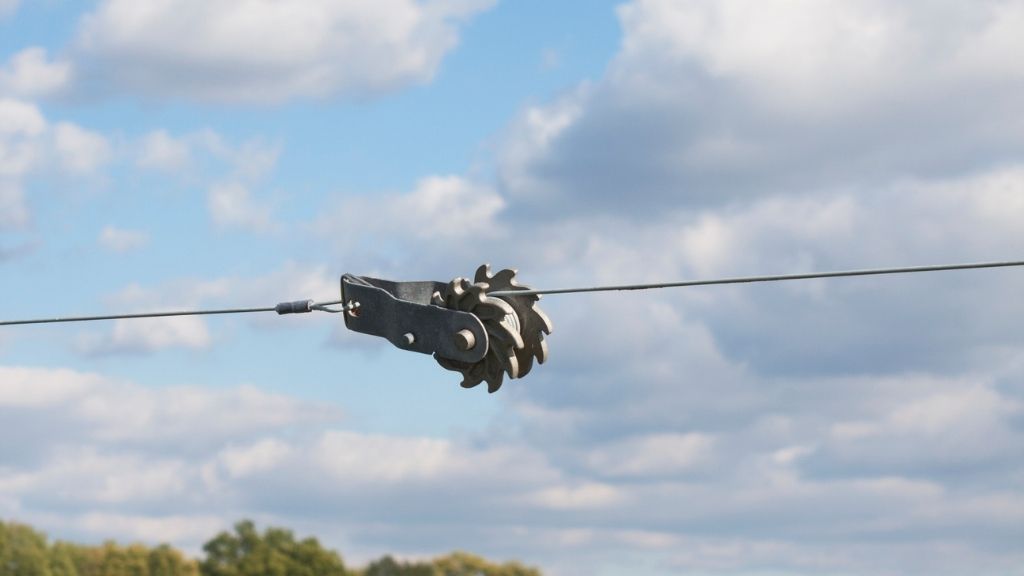
Buy a spinning jenny first. You can’t use that wire if you don’t have a way to unroll it.

How much wire is needed, again, will be based on the size of the area you are covering. Corner posts are also needed and should be tall enough for at least half of their full length to be planted underground for more sturdiness.
I’m not a fan of the labor and effort it takes to dig holes. However, using a post hole digger like this one makes all the difference if you don’t want to spend money renting an auger.

Corner posts need to be deep. You want your high tensile smooth wire strands to be very tight. Posts need strength to withstand this tension. That strength comes from a durable post sank deep in the ground.
Rancher, Greg Judy constructed one of his fences in 1999, which is still successfully functioning today. His posts are 8 ft long with only 4ft of that sticking out of the ground. Rather than using corner posts with braces, like and H or N brace, longer posts were sank deeper into the ground for more leverage to hold the fence tight.

Consider this when gathering your fence posts; you want to put them far enough into the ground for durability but also have enough height for your top hot wire strand to be 40-48 inches off the ground. Sell whatever livestock you have that jumps that fence.
Next, determine what gate will be sufficient in quality and size for your fence. An underground coated cable is also necessary to transfer power to the fencing on each side of the gate.
THE FENCE CHARGER
You will also need a fence energizer. Bigger is better, so go bigger than the requirements say you’ll need for your acreage. Energizers need at least 2000 volts for summertime and 4000 for winter, so aim for something around this voltage, if not higher. I have several fence chargers that range from 6k volts to 11k volts.
When it comes to your energizer, also consider your power source. If the mainline power is easily available and dependable, 110-volt AC energizers are most practical for permanent fencing. AC chargers cause very little increase in your electricity bill.
These chargers can be better than battery powered units considering they require no battery maintenance, have higher joule ratings, and are placed close to buildings with reduced risk of theft.
You may also consider a solar-powered option. Utilizing solar power for an energizer can help avoid complications with blackouts and power outages. It’s also advantageous for farms located in more remote areas. You can find electric fence kits that come with solar power options. While they might be a bit more expensive, it could be worth looking into if you have access to a remote farm.

When using a solar panel be sure to place it where it will receive significant sunlight, and it must face south if you’re in the northern hemisphere like me. Southern hemisphere locations would face their solar panel to the north.
The clothing brand, North Face, refers to the side of the mountain facing north because it receives less sunlight, therefore has more snow.
THE MOST IMPORTANT PART
Now you need grounding rods. Grounding is perhaps the most important part of this entire process. Making sure your fence is properly grounded is necessary for a successful psychological barrier.
I’ve touched my 11k volt hot wire and received very little electric shock because I didn’t have proper grounding. It’s that important.
You will need 3 feet of ground rod for every 1 joule provided by your charger. If you have a 7 joule electric fence charger then you need 21 feet of ground rod in the ground, which means you’ll need something like 3 eight-foot ground rods with only 12 inches protruding out of the ground on each rod.
Joules push the voltage down your high tensile wire, providing a shock at any point along your fence. Joules are like horsepower.
The ground rods will be connected to the energizer through high tensile galvanized wire just like you use for your fence strands. The rods need to be at least 10 feet from the energizer and spaced another 10 feet from each other. Each rod is connected to the other with one rod connected to the charger.
Here is an article from Stafix on how to properly set up your electric fence charger:

Your first step in setting up your fence charger is installing the grounding system. Do nothing with your fence or your fence charger until you’ve installed your ground rods. They need moisture to be most effective. Below a pond bank or in a shaded area is best. Next to pine trees is not good because pines are acidic and draw moisture from the ground.
I built my fence and then realized my ground rods and solar panel where in the wrong place. It seems like it would be easy to relocate. It’s not too difficult, but I put the cart before the horse. Ground rods before anything.
BUILDING THE ACTUAL FENCE
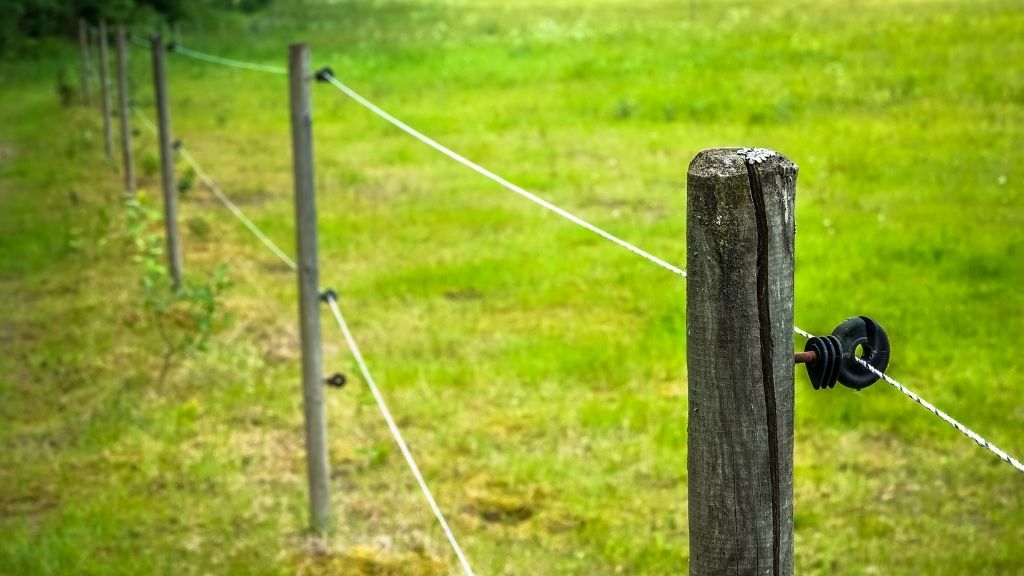
Next, you’ll need to gather insulators and utilize them anywhere the strands of wire attaches to a post. Corner strainers will also come in handy, one per wire.

To research these materials and/or purchase them, Powerflex Fence, a store located in Missouri, has each item available for purchase through their website, powerflexfence.com. I’ve purchased many items from them. They’re very personable and helpful. And I’ve never stepped foot in their store.
Now that you have gathered all necessary materials for your electric fence, it’s time to prepare and design your barrier layout. First, you must choose the best location for your fence. You should have already considered what size would be necessary, but it’s also important to consider an area better suited for your cattle.
Your location should be based on the size and number of cattle, in addition to your water source location. An area with clear terrain is also preferred.
Site characteristics, such as terrain and moist soil, should be considered before settling on an area.
Once this is determined, clear the designated enclosure by removing brush and debris from the fence line area. Now you’re ready for construction!
While building your permanent fence, keep in mind that the fence needs to be 40-48 inches high, or up to 60 if you have bulls, though I’ve contained many bulls with just 48 inches.
Begin by installing your end posts. Remember, they should be at least halfway in the ground for the most efficiency.
Next, determine where your gates will be and dig the trench for burying your insulated smooth wire to connect one side to the other. Dig your trench and bury this wire before installing any of your gate posts
Now it’s time to focus on the electric fence wires, the strands that make up your actual fence.
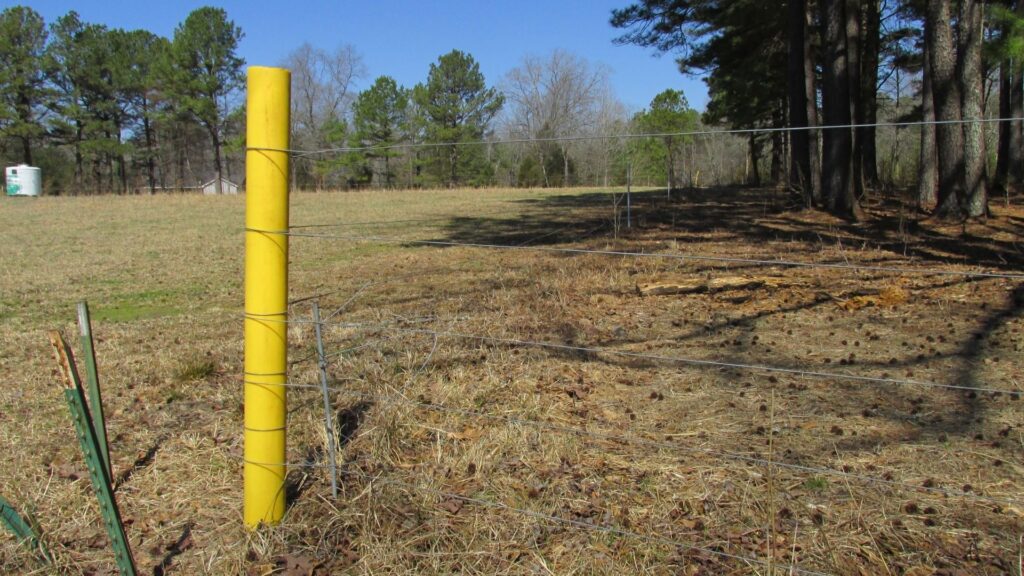
Attach your wires to the corner posts; you can choose one, two, or even five wires to attach, the more the merrier. Your bottom wire should be 8-10 inches from the ground while the top wire is 40-48 inches from the ground.

Attach the high-tensile wire to your strainers and secure them to each of your corner wooden posts, or steel posts, using insulators
It’s recommended that every second wire connects to the energizer with remaining wires left as grounding wires. I don’t do this. I let the bottom wire be a part of the ground system, meaning it’s attached to the ground wire coming off the fence charger
You will then need to connect your ground rods with the lead-out cable from your charger. Then, connect the hot or positive post on your fence charger to your fence. I recommend this connecting piece be insulated wire, just to prevent accidental shocks.
MAKE IT HOT!
Finally, do a quick check for the voltage at the furthest end from the energizer; this should be a minimum of 3000 volts, depending on your charger, but an even higher voltage level would be beneficial.
You can purchase a fence tester, also known as a fault finder, to determine volts and amps. High volts is good. High amps is not. Typically your volts will drop when your amps increase. High amps means you have something touching your hot wire, like a t-post or wood post or a tree. Anything that can draw charge (volts) from your fence. A good fence tester is worth every penny. But an inexpensive tester will do the trick.

And that’s it, you have officially built an efficient electric fence system for your cattle.
ELECTRIC FENCE MAINTENANCE
Although you have successfully constructed a proper barrier for your livestock, your work isn’t done. The fencing may be permanent, but it still requires proper upkeep and maintenance.
You will need to frequently check on your voltage levels (and amp levels if you have the right tester). Upkeep around fence lines is especially necessary. Check for debris and clear weed growth when needed.
Walk the entire fence line, at least each spring, to make sure that insulators are in place and that wires are tight.
Proper maintenance will ensure your fence remains effective in serving as a barrier to your cattle without any mishaps, so be sure to actively check to make sure everything looks as it should.
Efficiency is key in this upkeep, as well as constructing your fence. Throughout this entire process, you should be sure to diligently complete necessary tasks with accuracy to produce the best work.
Joel Salatin, rancher and owner of Polyface Farms, says that attention to efficiency is important to constructing something like an electric fence. It takes proper time and dedication, but putting in the effort while completing tasks and staying focused will save time in the future and provide the best results.
After building your electric fence, you will come to realize how beneficial it truly is to have this fencing surrounding your area. With electric fencing, you save money on repairs and protect your cattle.
Training your cattle and other livestock will be easy with physical and psychological barriers, and you’ll get to avoid the hassle of a fence in need of repairs.
It should also be noted that electric fencing will not harm your livestock in any way. Electric fencing is a source of protection, not at all any danger. It provides a shock in pulses, unlike that of high amplification electricity that is continuous. An electric fence charger isn’t even strong enough to kill a squirrel – Paul’s Electric Service
Overall, having an electric fence built for your cattle has advantages that greatly outweigh the time and effort put forth to construct it. It is a system you can always rely on to secure and protect your livestock. The commitment and dedication, in addition to the attention to efficiency, will provide a successful outcome that will not only leave you proud of your work but also grateful for the protection you now have for your cattle.
